Ask any 4S shop manager what actually drives installation-related returns, and it’s rarely the head unit itself.
It’s a wrong DIN size, a mismatched dashboard kit, or a CAN Bus adapter that doesn’t quite fit the vehicle it was sold for. None of that shows up until the unit’s already in a customer’s dashboard.
This guide walks through the standardized process that prevents those problems — pre-installation checks and DIN matching, dashboard kit selection, CAN Bus wiring, steering wheel control programming, post-installation inspection, and the failure patterns worth planning around before they cost you a return.
Pre-Installation Preparation: Core Checks & DIN Size Matching
Pre-installation preparation means verifying everything before a single screw comes out — confirming the head unit’s DIN size and measuring the vehicle’s actual dashboard opening, not assuming they match.
- DIN size matching: Single DIN measures 178mm × 50mm, Double DIN measures 178mm × 100mm, under the ISO 7736 standard. Measure the dashboard opening directly and confirm the head unit’s height fits the available space.
- Vehicle-specific considerations: some vehicles need special mounting brackets or dash modification kits. Verify whether the vehicle actually has a factory 1-DIN or 2-DIN opening before ordering, not after.
- Power and wiring inspection: confirm the vehicle runs standard 12V DC power and check that the factory wiring harness is actually compatible with the new head unit’s connections.
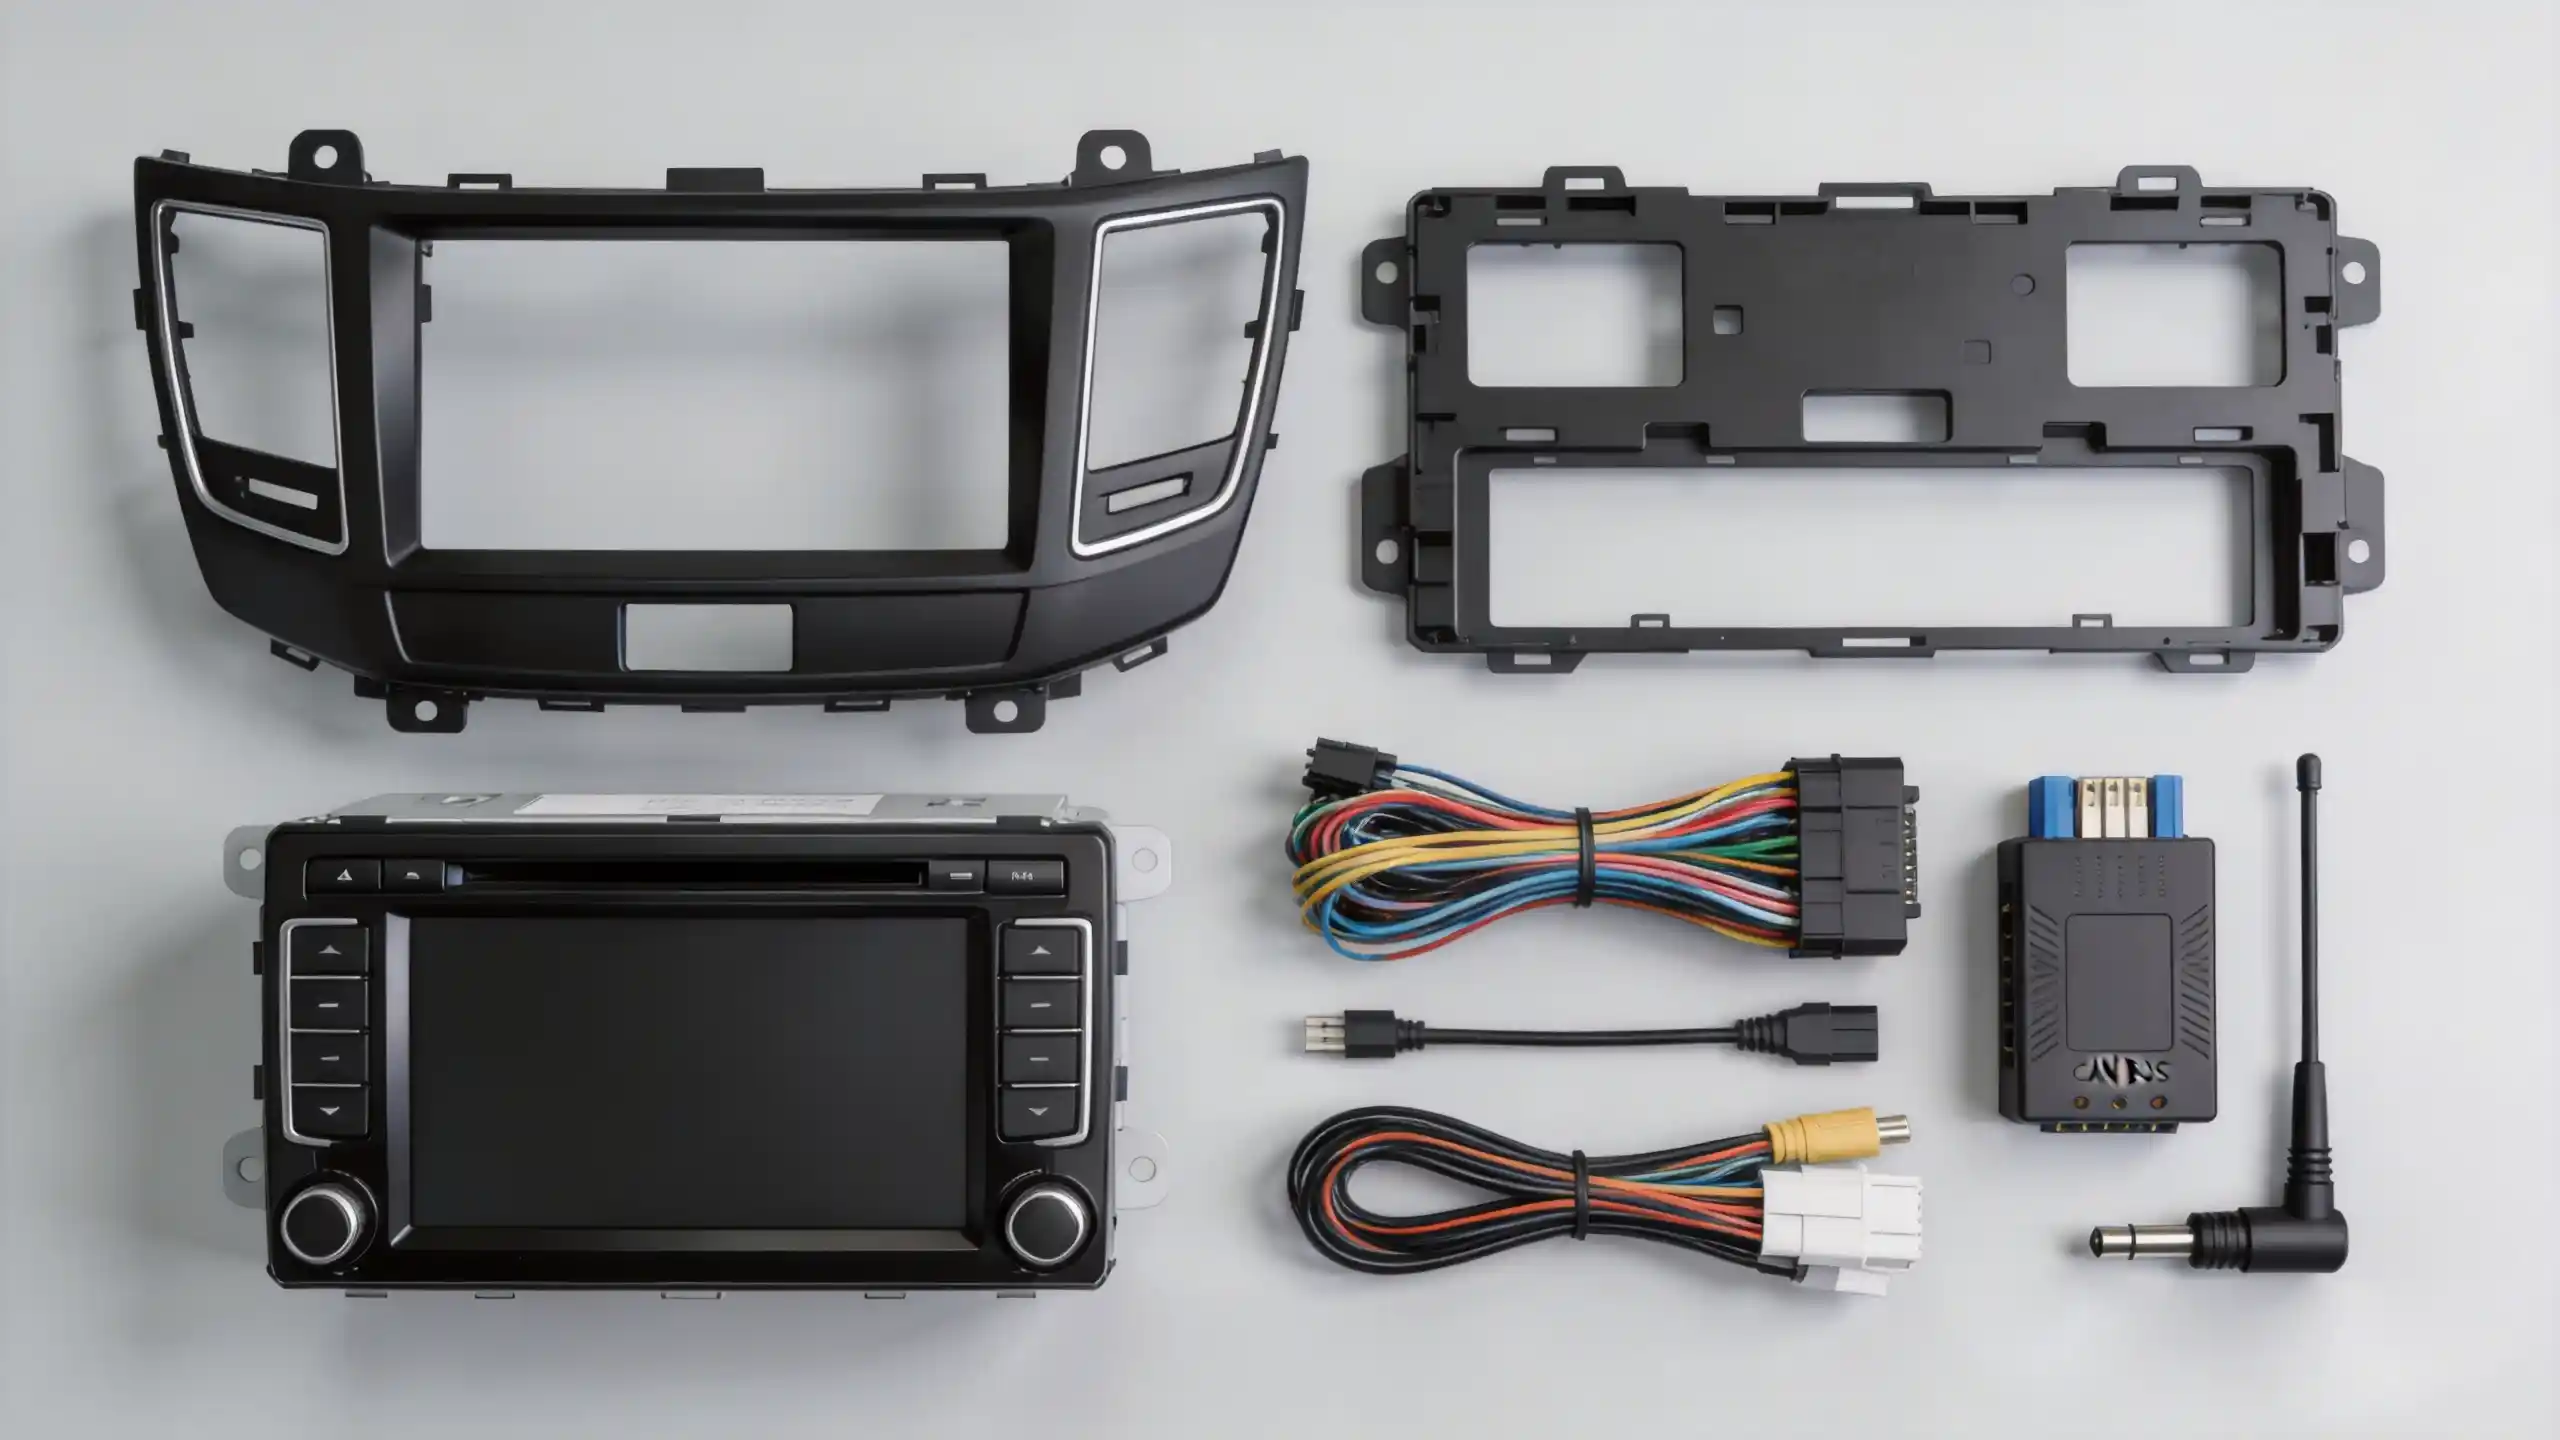
- Tool and accessory checklist: trim removal tools, screwdrivers, wire connectors, plus the dash kit, wiring harness, and antenna adapter — all ready before work starts, not sourced mid-installation. For a complete technical overview of what an Android head unit is and how it is built, see our guide on What Is an Android Head Unit?
Core Installation Accessories: Dashboard Kit Selection & Matching Guide
A dashboard kit — sometimes called a dash kit or trim bezel — is the plastic mounting frame that bridges the gap between an aftermarket head unit and the vehicle’s original dashboard opening. It’s what makes the installation look factory rather than bolted-on.
For B2B buyers, this part matters more than it might seem. A poorly matched kit leads to visible gaps, a loose fit, rattling while driving, and exactly the kind of customer complaint that turns into an after-sales return. Vehicle-specific kits, precision-molded for one model, deliver the best fit; universal kits often require field modification and tend to look noticeably less professional once installed.
For bulk ordering, the practical approach is identifying the most common vehicle models in your target market and stocking kits for those specifically, sourced from a supplier with genuinely broad vehicle coverage rather than a handful of popular models. Antenna adapters, wiring harnesses, and CAN Bus decoders round out a complete installation kit — worth confirming as a full set before ordering rather than assuming they’re bundled.
For a complete guide covering the full installation process — from DIN matching to post-installation verification — see our guide: Head Unit Installation.
Wiring & Connection: CAN Bus Adapter Installation & Protocol Matching
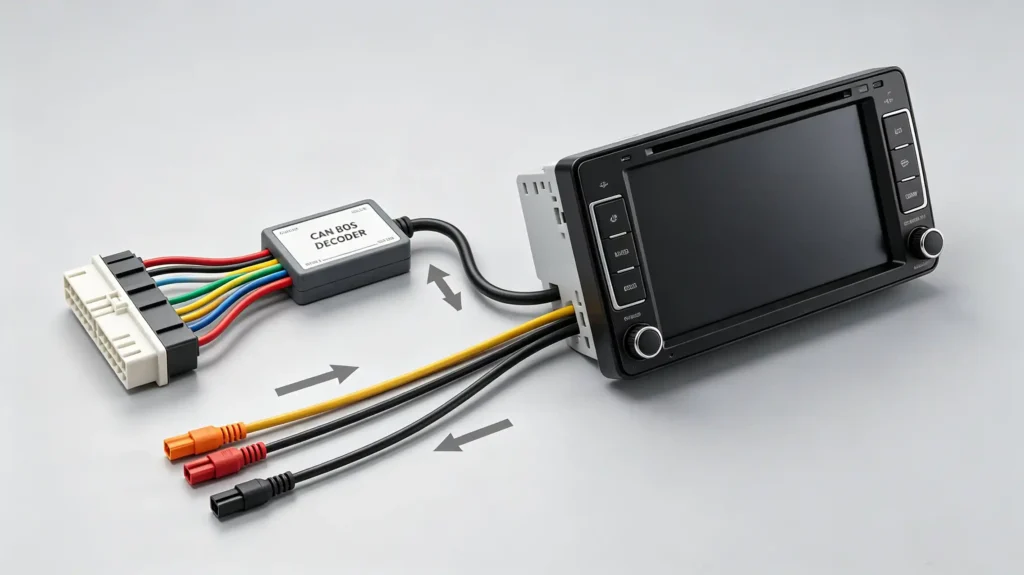
A CAN Bus adapter — also called a CAN Bus decoder — translates a vehicle’s own CAN Bus protocol into signals the aftermarket head unit can actually read. Without it, the new unit talks past the vehicle rather than to it.
Done right, this preserves the functions that matter most to end users: steering wheel controls, the reverse camera trigger, the speed signal that feeds navigation, climate display, door and trunk status, and parking sensor audio. Getting there means using the correct wiring harness for both the vehicle and the head unit, and following the adapter’s wiring diagram precisely — improper wiring can damage the head unit outright or cause an electrical short, not just a feature failure.
Protocol matching is the part that trips up buyers unfamiliar with the category: the adapter has to support the target vehicle’s specific CAN Bus protocol, and different brands (sometimes different model years of the same brand) use different protocols. Verify the adapter’s compatibility list before ordering, not after installation reveals a mismatch. The most common pitfalls are connecting the wrong wires, failing to ground the adapter properly, or using a decoder that simply doesn’t support the vehicle model — all of which lead to the same result: lost functions or a failed installation.
Function Debugging: Steering Wheel Control Programming & Verification
Steering wheel buttons send specific CAN Bus messages when pressed, and the CAN Bus decoder reads those messages and translates them into commands the head unit can execute — volume up, track change, phone answer, and so on.
Some head units require manual programming of these controls: following the on-screen prompts to assign each physical button to its corresponding function, rather than expecting it to work automatically out of the box. Once programmed, every button needs individual testing — volume, track, source, phone, voice — to confirm it actually works, not just that programming completed without an error message.
The most common programming issue is buttons that simply don’t register, usually traced back to an incorrect CAN Bus decoder or an unsupported vehicle protocol. Verifying the decoder actually supports the specific steering wheel functions for that vehicle heads this off before it becomes a customer-facing problem. Worth noting for older inventory specifically: some older vehicles use resistive steering wheel controls rather than CAN Bus-based ones, requiring an entirely different interface module — verify the vehicle’s control type before ordering rather than assuming CAN Bus compatibility across the board.
Post-Installation Inspection & Commercial-Grade Quality Control Standards
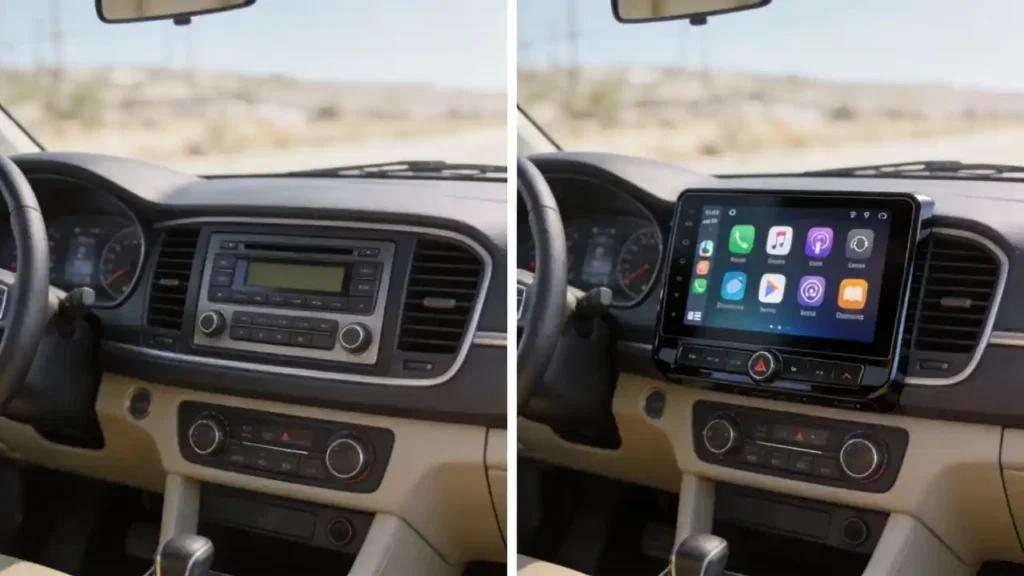
Installation isn’t complete until every function has actually been verified, not just visually confirmed.
Full function verification covers power-on, touchscreen response, Bluetooth connection, GPS signal, audio output, radio reception, and phone projection in both wired and wireless modes. Vehicle integration verification confirms the pieces that depend on the CAN Bus adapter specifically: steering wheel controls, reverse camera trigger, speed signal, climate display, and parking sensor audio.
Physical inspection matters just as much as the electronics — the head unit should sit securely with no gaps, rattles, or loose connections, and the dashboard kit should sit flush against the dashboard rather than proud or recessed. On the electrical side, confirm all wiring connections are secure, check for proper grounding, and verify the unit doesn’t draw excessive current when the vehicle is off, which points to a wiring issue rather than a unit defect.
For high-volume installation projects, a 48-hour functional test — or a reasonable equivalent — after installation is worth building into the process, with results documented and serial numbers retained for traceability. Keeping installation records tied to vehicle VIN, head unit serial number, installation date, and verification results turns a one-off installation into something you can actually audit later if a problem surfaces.
For a complete framework on matching head unit specs to your business scenario — including 4S dealerships, cross-border wholesale, fleet operators, and OEM projects — read our guide: How to Choose an Android Head Unit for Your Vehicle.
Common Installation Failures & B2B Risk Avoidance Guide
A handful of failure patterns account for most bulk installation losses, and each one traces back to a step that got skipped somewhere upstream.
- Incorrect DIN size — ordering the wrong size for the vehicle. Avoided by measuring the dashboard opening and verifying the vehicle’s factory DIN size before ordering, not assuming it from the model name.
- CAN Bus protocol mismatch — steering wheel controls or the reverse camera simply don’t work. Avoided by verifying the adapter’s compatibility with the specific vehicle model beforehand.
- Incorrect wiring — power not reaching the unit, or accessory functions failing. Avoided by using a proper vehicle-specific harness and following the wiring diagram exactly.
- Poor fitment — the unit sits loose, or gaps show around the trim. Avoided by using vehicle-specific dashboard kits rather than universal ones.
- Functions not verified — the unit gets installed, but GPS, Bluetooth, or steering wheel controls never get tested. Avoided by running a full post-installation inspection checklist every time, not just on the units that seem to have an issue.
The broader risk-avoidance strategy comes down to standardizing the installation workflow itself: train installers on the complete process, test compatibility with sample vehicles before a bulk rollout, and document every installation so patterns in failures — if they show up — are actually visible rather than anecdotal.
FAQ
What is the standard installation workflow for bulk head unit installation projects for 4S shops?
The standard sequence runs pre-installation checks and DIN size verification, dashboard kit fitting, CAN Bus adapter wiring, steering wheel control programming, then a full post-installation inspection covering every function. Following this order consistently — rather than skipping ahead to save time — is what keeps bulk projects from generating avoidable after-sales returns down the line.
How to confirm whether a dashboard kit is compatible with a specific vehicle model before bulk ordering?
Request the exact vehicle make, model, and year from the kit supplier, and ask for a vehicle-specific kit rather than a universal one wherever possible. Testing a kit on a sample vehicle before committing to a bulk order is the most reliable way to catch fitment issues, since even kits marketed for the “same” model can vary across trim levels or production years.
What are the core risks of mismatched CAN Bus protocol during head unit installation?
A mismatched protocol typically causes steering wheel controls, the reverse camera trigger, or climate display integration to fail, even though the head unit itself powers on and functions normally otherwise. This is one of the most common sources of installation complaints precisely because the head unit appears to work — the failure only shows up in vehicle-specific functions that customers notice days or weeks later.
Can steering wheel control functions be realized for all vehicle models after head unit replacement?
In most cases, yes, provided the CAN Bus decoder is properly matched to that vehicle’s protocol — though older vehicles with resistive (non-CAN Bus) steering wheel controls need a different interface module entirely. Verifying the vehicle’s control type and confirming decoder compatibility before installation avoids discovering a mismatch after the head unit is already mounted.
What are the most common installation failures that lead to after-sales returns in bulk projects?
Incorrect DIN sizing, CAN Bus protocol mismatches, and skipped function verification are the three that account for the majority of returns in bulk installation projects. All three are largely preventable with a standardized pre-installation checklist and a consistent post-installation inspection process, rather than relying on installer experience alone to catch problems.
Conclusion
Head unit installation done right is a sequence, not a single step — DIN matching, the right dashboard kit, correct CAN Bus wiring, verified steering wheel programming, and a full post-installation check, in that order. Skipping any one of them is usually where a bulk project’s after-sales returns actually come from.
Sourcing head units and installation accessories for your next bulk project? Contact our team to discuss dashboard kit and CAN Bus compatibility for your target vehicles, or explore our current Android head unit product lineup.