Installing an aftermarket navigation system is more than removing the factory radio and fitting a new screen. The installation also involves vehicle compatibility, wiring, GPS reception, reverse-camera integration, and communication with the vehicle’s electronic systems.
For car dealers, wholesalers, importers, automakers, and 4S dealerships, these details become even more important when several vehicle models are involved. A product that installs easily on one model may require additional adapters or a different interface on another.
This Car Navigation Installation Guide focuses on the main installation stages and the checks B2B buyers should complete before deployment. It is intended as a practical overview rather than a vehicle-specific service manual. For foundational technical context on the product, see our what is a car navigation system guide.
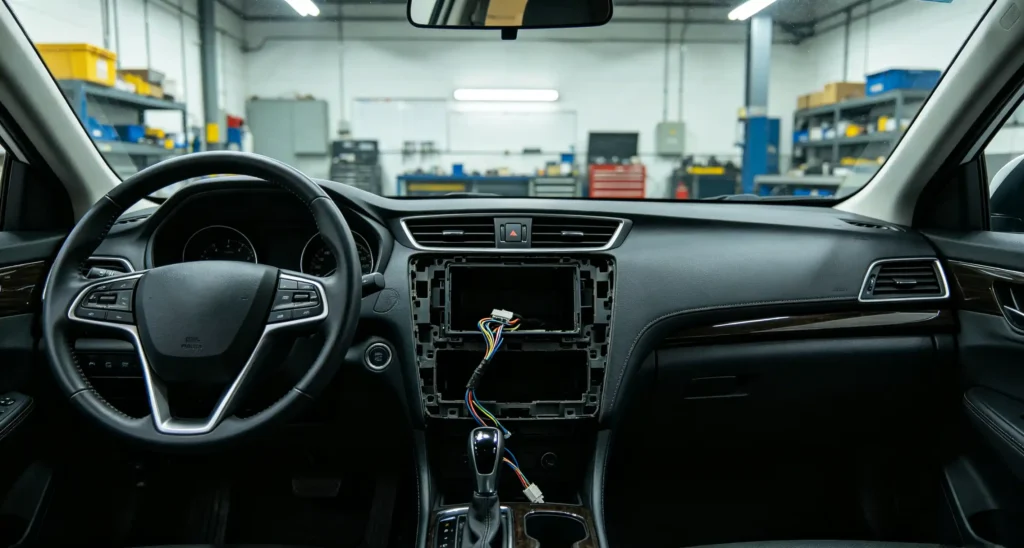
Pre-Installation Preparation and Vehicle Compatibility Assessment
Before you install a head unit, confirm that the selected system matches the vehicle. Skipping this step can lead to missing parts, installation delays, or functions that do not work after installation.
Start with the following checks:
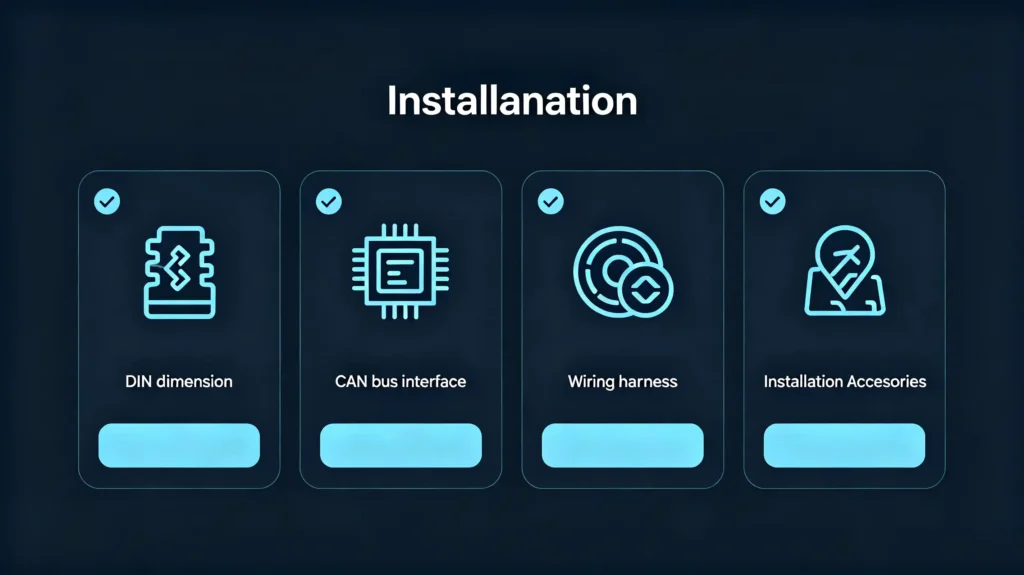
- DIN size: Confirm that the head unit matches the vehicle’s dashboard opening, such as Single DIN or Double DIN. For a complete guide on DIN sizing, see our what is Double DIN guide.
- CAN Bus compatibility: Check whether the system can retain supported vehicle functions, such as steering wheel controls, reverse triggers, or vehicle data. For foundational context on CAN Bus, see our what is CAN BUS guide.
- Dashboard kit: Verify that the correct mounting frame or bezel is available for the vehicle.
- Wiring harness: Confirm that the supplied harness matches the exact vehicle application.
- Accessories: Check for the required GPS antenna, microphone, USB cables, camera, and other accessories.
- Special adapters: Some vehicles may require antenna adapters or additional steering-wheel-control interfaces.
- Documentation: Review wiring diagrams and vehicle-specific installation instructions before starting.
This preparation matters even more for bulk projects. If a distributor is installing 500 units across several vehicle models, one missing harness or incorrect interface can create repeated rework.
Rungrace’s technical support process includes vehicle compatibility verification for installation projects. The company also provides vehicle-specific installation components for supported applications.
Head Unit Physical Installation Basics
Once compatibility has been confirmed, the physical installation can begin. The exact procedure varies by vehicle, so this section provides a general workflow rather than a model-specific installation manual.
A typical installation involves these stages:
- Prepare the dashboard. Remove the factory head unit using suitable trim-removal tools. Take care not to damage dashboard clips or surrounding panels.
- Install the mounting brackets. Attach the vehicle-specific brackets supplied with the dashboard kit to the new head unit.
- Position the head unit. Slide the unit into the dashboard opening and check that it seats correctly.
- Secure the unit. Use the appropriate screws or clips to prevent movement.
- Install the trim bezel. Fit the surrounding trim so the new system sits correctly within the dashboard.
The final position should be stable and properly aligned. A unit that sits loosely or protrudes from the dashboard can create both appearance and durability problems.
Rungrace Android head units use standard DIN chassis configurations for applicable vehicles. Vehicle-specific mounting kits can simplify installation by matching the dashboard opening and mounting points.
For bulk retrofit projects and 4S dealership installations, professional installers are generally preferable. Consistent installation procedures can reduce rework and make post-installation inspection easier.
Wiring Harness and Power-Related Connections
The wiring harness is one of the most important parts of an aftermarket installation. It connects the head unit with the vehicle’s electrical and control systems.
A vehicle-specific harness is already configured for a particular application. A universal harness usually requires manual wire matching.
For B2B installation projects, the vehicle-specific option can reduce wiring errors and simplify installation.
The main connections may include:
- Constant 12V power
- Switched ignition power
- Ground
- Speaker outputs
- Illumination
- Reverse trigger
- Other vehicle-interface connections
Power connections need to be matched correctly. Incorrect polarity or incorrect wiring can damage equipment or vehicle electronics. Loose connections can cause intermittent operation. Undersized wiring may also create overheating risks.
The installation team should therefore use the correct wiring diagram for the exact product and vehicle combination. Connections should be secured with suitable connectors, and loose wires should be organized so they do not interfere with other components.
Rungrace provides vehicle-specific wiring harnesses for supported vehicle applications. This approach is intended to reduce manual wiring and simplify integration during larger installation projects.
For buyers, the key question is not simply whether a supplier includes a harness. Ask whether the harness is vehicle-specific, what functions it supports, and whether it has been tested with the selected head unit.
GPS Antenna Placement and Installation Considerations
The GPS antenna receives satellite signals used for positioning and navigation. Its location can affect reception, so antenna placement should be considered during installation rather than treated as an afterthought.
Common placement options include:
- Dashboard near the windshield: Easy to install and suitable when the antenna has a clear view through the windshield.
- Behind the rearview mirror: Provides a more concealed position while maintaining suitable signal exposure.
- A-pillar area: Can provide a practical hidden installation location when cable routing is handled correctly.
- Exterior roof or trunk area: Can provide strong reception but requires additional mounting and cable-routing considerations.
Certain materials can interfere with satellite reception. Metallic windshield tint and metal structures can reduce signal availability. Other electronic devices located close to the antenna may also affect reception.
Cable routing matters as well. The antenna cable should be routed cleanly along the dashboard, door trim, or A-pillar. Avoid sharp bends, pinching, or unnecessary cable tension.
After installation, verify that the system obtains a GPS lock. Check satellite availability and signal strength before completing the installation.
Rungrace GPS antennas are designed for supported dashboard or A-pillar installation applications. Verification of GPS signal reception is part of the recommended installation check.
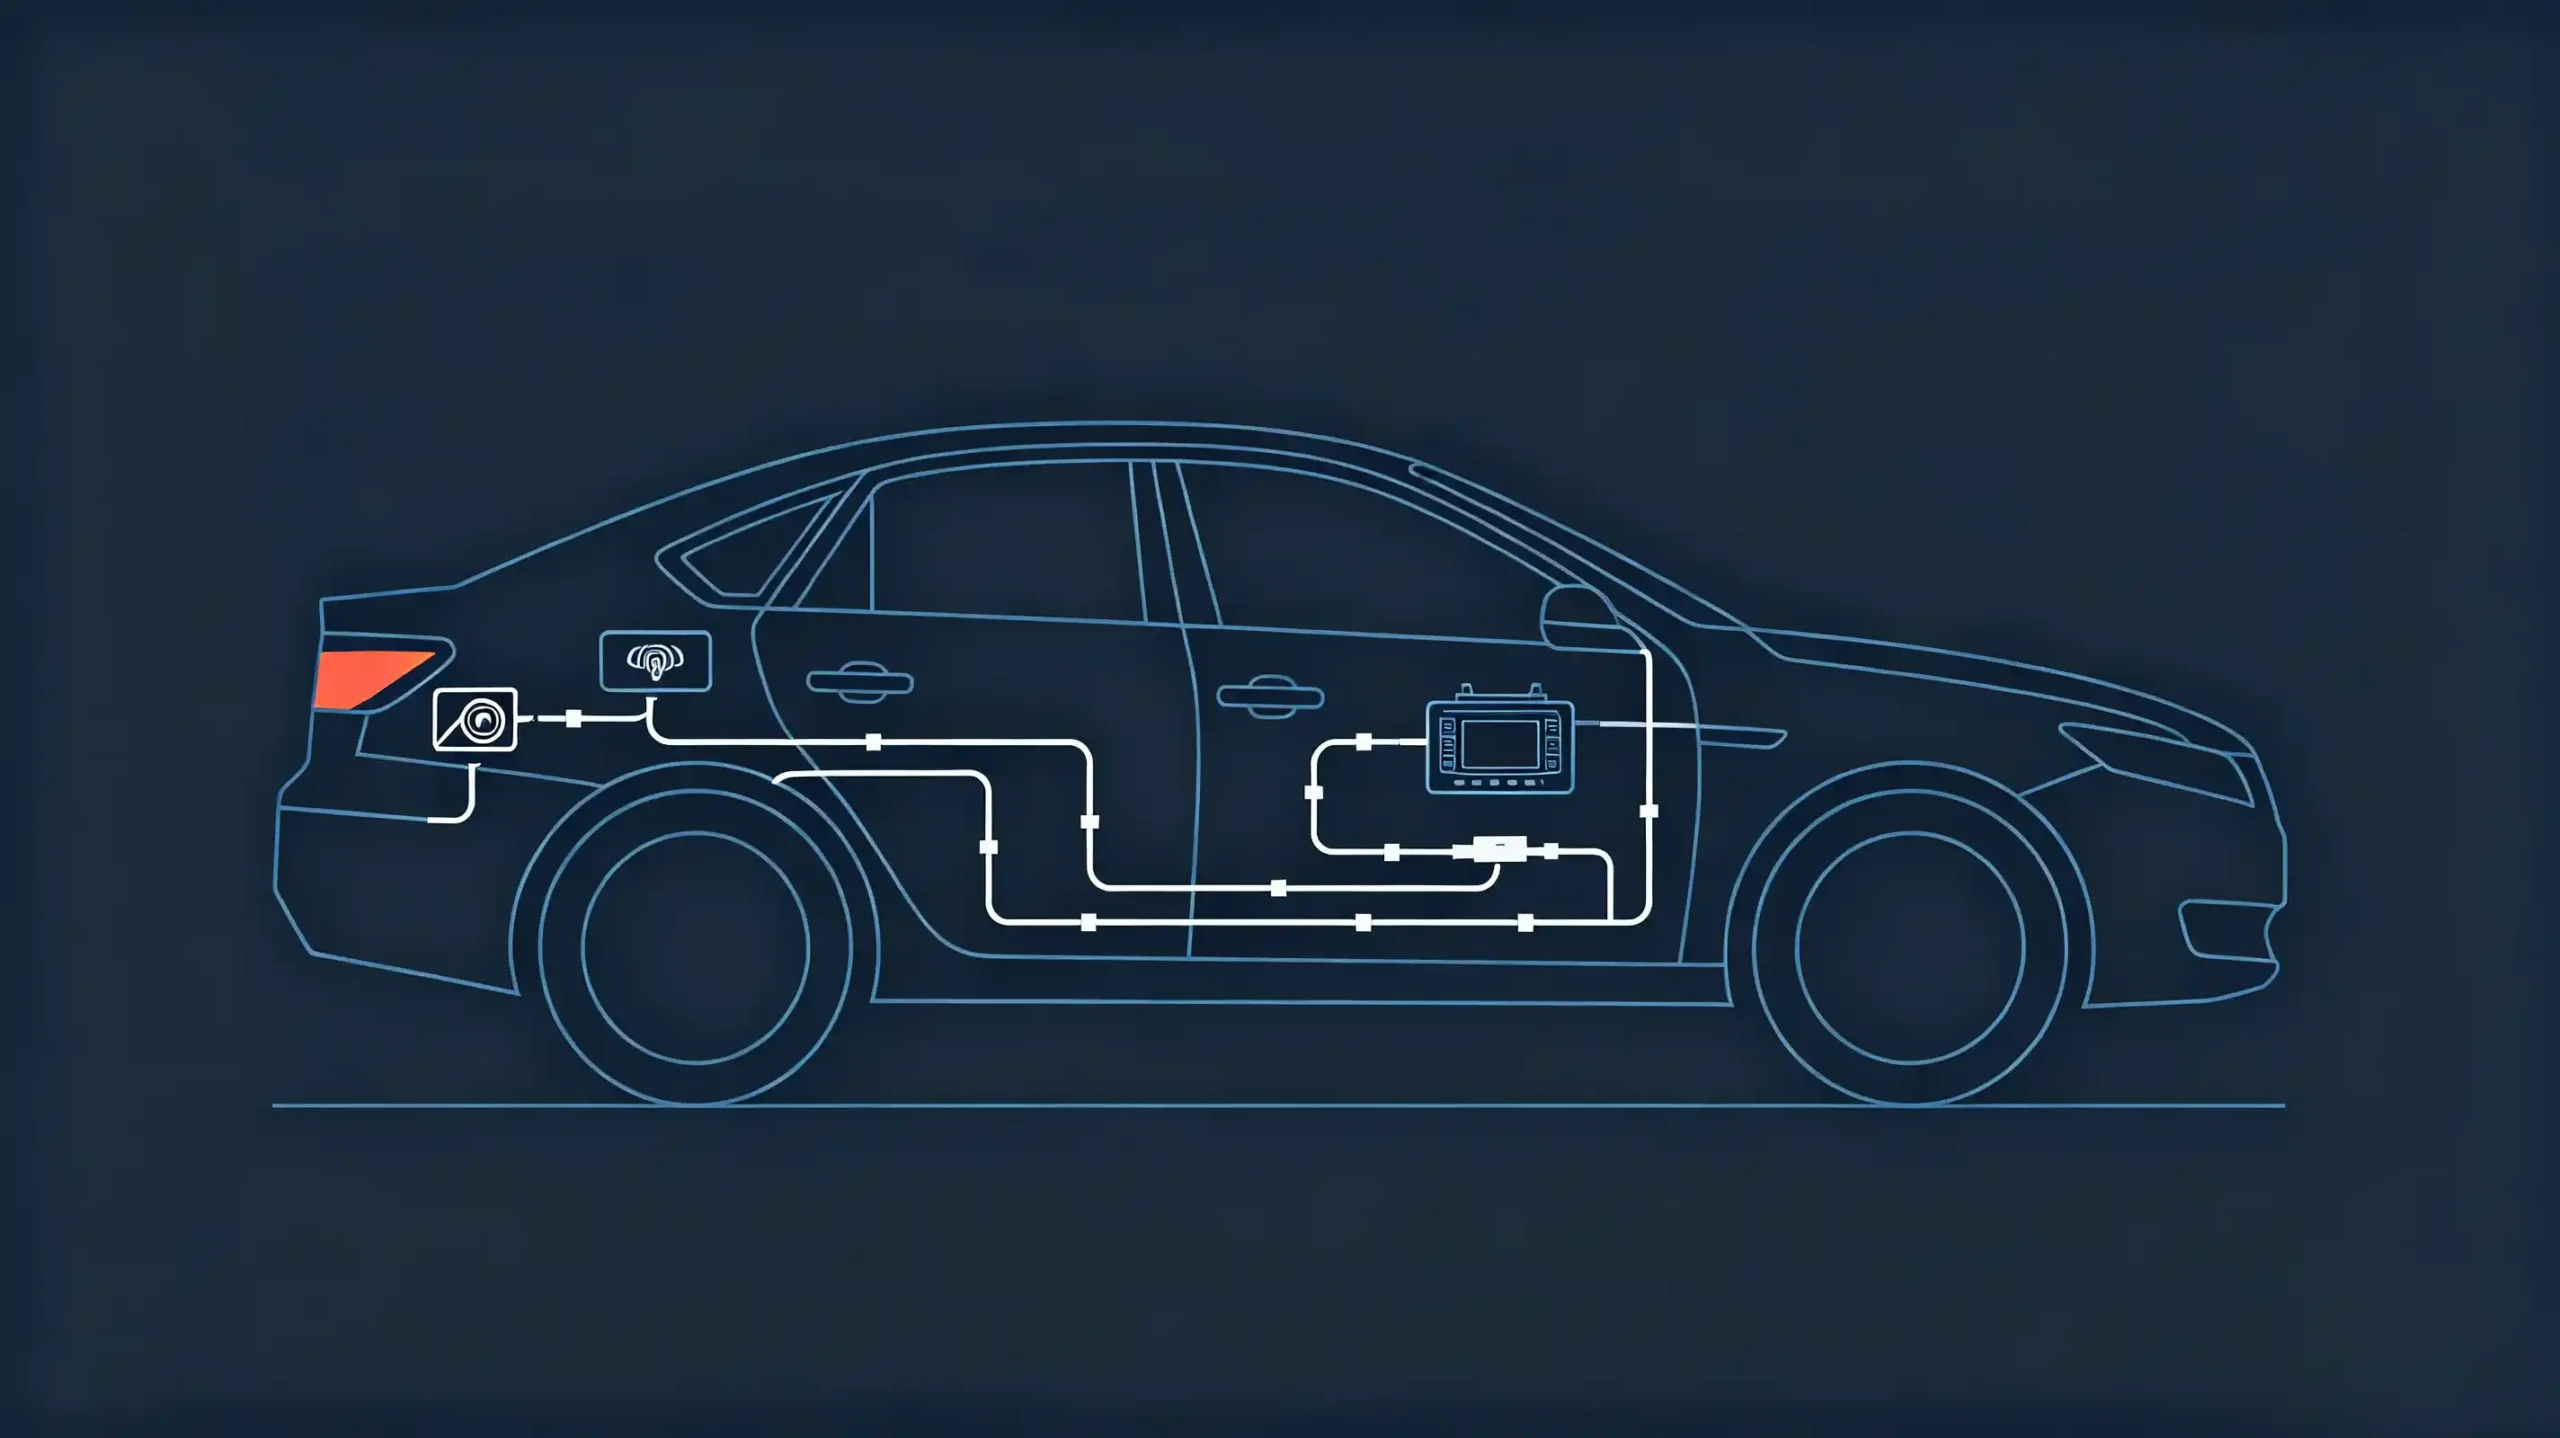
Reverse Camera Installation and Connection Overview
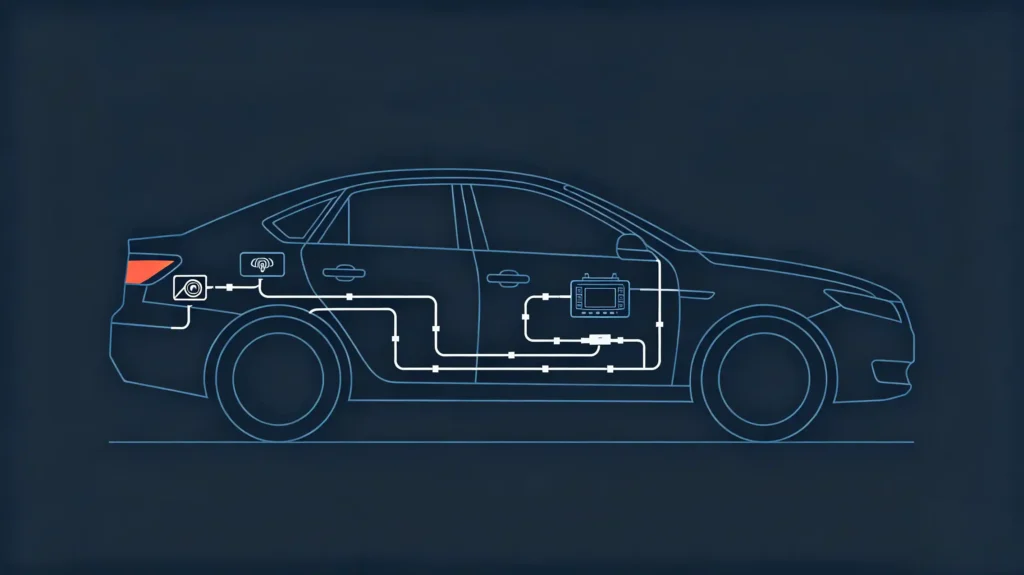
A reverse camera installation involves more than mounting the camera at the rear of the vehicle. For a complete guide on camera types and wiring, see our backup camera guide. The camera needs a suitable video connection, power supply, and reverse trigger so the head unit can display the image when the vehicle is placed in reverse.
A typical high-level workflow is:
- Mount the camera. Depending on the product and vehicle, the camera may be installed near the license plate, tailgate handle, or another suitable location.
- Connect the video signal. Run the camera’s video cable to the head unit’s compatible video input, such as RCA or AHD where supported.
- Provide power. The camera can be powered through the reverse-light circuit or another supported power arrangement.
- Connect the reverse trigger. The head unit needs a reverse signal to switch automatically to the camera display. This signal may come from the reverse-light circuit or a supported vehicle interface.
- Route the cables. Keep video and power cables secure and away from sharp edges or locations where they could be pinched.
- Verify operation. Shift into reverse and check activation, image quality, and guidelines if supported.
Rungrace offers backup cameras compatible with its applicable Android head units. Correct camera and head-unit matching should be confirmed before installation.
Vehicle-Interface Connections and Plug-and-Play Integration
The term plug and play can be misleading in aftermarket automotive electronics.
A plug-and-play installation kit normally means that the major components have been prepared for a specific vehicle. This may include a vehicle-specific wiring harness, dashboard kit, and vehicle-interface module.
The interface module can bridge the aftermarket head unit with selected original vehicle functions. Depending on the vehicle and configuration, these may include:
- Steering wheel controls
- Reverse trigger
- Vehicle speed signal
- Climate information
- Other vehicle data
However, plug and play does not mean that no physical installation is required. The dashboard still needs to be opened, the head unit mounted, and cables routed correctly.
There are also compatibility limits:
- A kit designed for one vehicle model may not fit another.
- Different model years can use different CAN Bus protocols.
- A lower-quality interface may not retain all original vehicle functions.
- Some applications require additional adapters or configuration.
For B2B projects, buyers should therefore ask for the complete vehicle-specific installation package rather than accepting a general “plug-and-play” claim.
Rungrace supports vehicle-specific installation kits that can include the dash kit, wiring harness, and CAN Bus decoder for applicable projects. This can simplify installation planning for dealers, importers, and OEM/ODM customers.
Post-Installation Functional Testing Checklist
Installation should not be considered complete when the head unit simply powers on. A complete post-installation testing process checks the main functions and records the results.
Use this checklist after the hardware installation is finished:
- Power and startup: Confirm that the unit powers on, displays correctly, and reaches the home screen.
- Touchscreen and controls: Test touchscreen response and supported steering wheel controls, including volume, track, source, phone, and voice functions.
- GPS: Confirm GPS lock, satellite availability, signal strength, and navigation positioning.
- Audio: Test left/right and front/rear speaker output where applicable. Check radio reception as well.
- Reverse camera: Shift into reverse and verify automatic camera activation and image quality.
- Bluetooth and phone: Test hands-free calling and audio streaming.
- Vehicle data: Verify supported information such as speed, climate display, and door or trunk status.
- Documentation: Record the test results before the vehicle or batch is released.
For bulk projects, consistent testing is particularly useful. It gives installers and suppliers a common acceptance standard and makes it easier to identify whether an issue is related to the product, installation, or vehicle compatibility.
Rungrace recommends functional verification of GPS, audio, camera, steering wheel controls, and other supported functions before project completion.
FAQ
What factors mean a “plug-and-play” navigation kit may still require modification?
Plug-and-play usually means the major wiring and interface components are prepared for a specific vehicle. It does not eliminate physical installation. Dashboard removal, mounting, cable routing, and trim fitting are still required. Some vehicles may also use different CAN Bus protocols across model years. Buyers should confirm the exact vehicle model, year, wiring harness, dashboard kit, and interface module before ordering.
What problems can poor GPS antenna placement cause?
Poor placement can reduce satellite reception and make it harder for the system to obtain a reliable GPS lock. Metallic windshield tint, metal structures, and nearby electronic equipment can interfere with reception. The antenna cable can also suffer from pinching or sharp bends during installation. After mounting the antenna, installers should verify satellite availability and signal strength before considering the navigation installation complete.
What risks come from mismatched or low-quality wiring harnesses?
A mismatched harness can result in incorrect power, ground, speaker, illumination, or trigger connections. This may cause intermittent operation or damage to equipment. Poor connections can also create recurring installation problems across a large batch. For B2B projects, a vehicle-specific harness is generally easier to manage because it reduces manual wire matching and makes the installation process more consistent.
Which compatibility checks should B2B buyers perform before ordering large batches?
Confirm the head unit’s DIN size, vehicle model and year, CAN Bus compatibility, dashboard kit, wiring harness, antenna adapters, steering-wheel-control requirements, and required accessories. Buyers should also confirm which original vehicle functions will remain available. Sample installation on representative vehicles is preferable before approving a large production order.
Complete Your Installation Plan Before Ordering in Volume
A successful car navigation installation starts before the head unit reaches the dashboard. Vehicle compatibility, wiring harness selection, GPS antenna placement, reverse-camera integration, vehicle interfaces, and post-installation testing all affect the final result.
For B2B buyers, the safest approach is to validate the complete installation package on representative vehicles before moving to mass deployment.
Rungrace can support applicable projects with Android head units, vehicle-specific wiring harnesses, GPS antennas, backup cameras, dashboard kits, CAN Bus interfaces, and OEM/ODM customization.
Contact our team to discuss your target vehicle models, installation requirements, and bulk-order configuration.